Google My Business Manager
Location Manager
Business in Multiple Locations
- You are able to maintain your business to multiple locations
- You are able to maintain multiple business’ information
- You are able to switch between businesses at one click
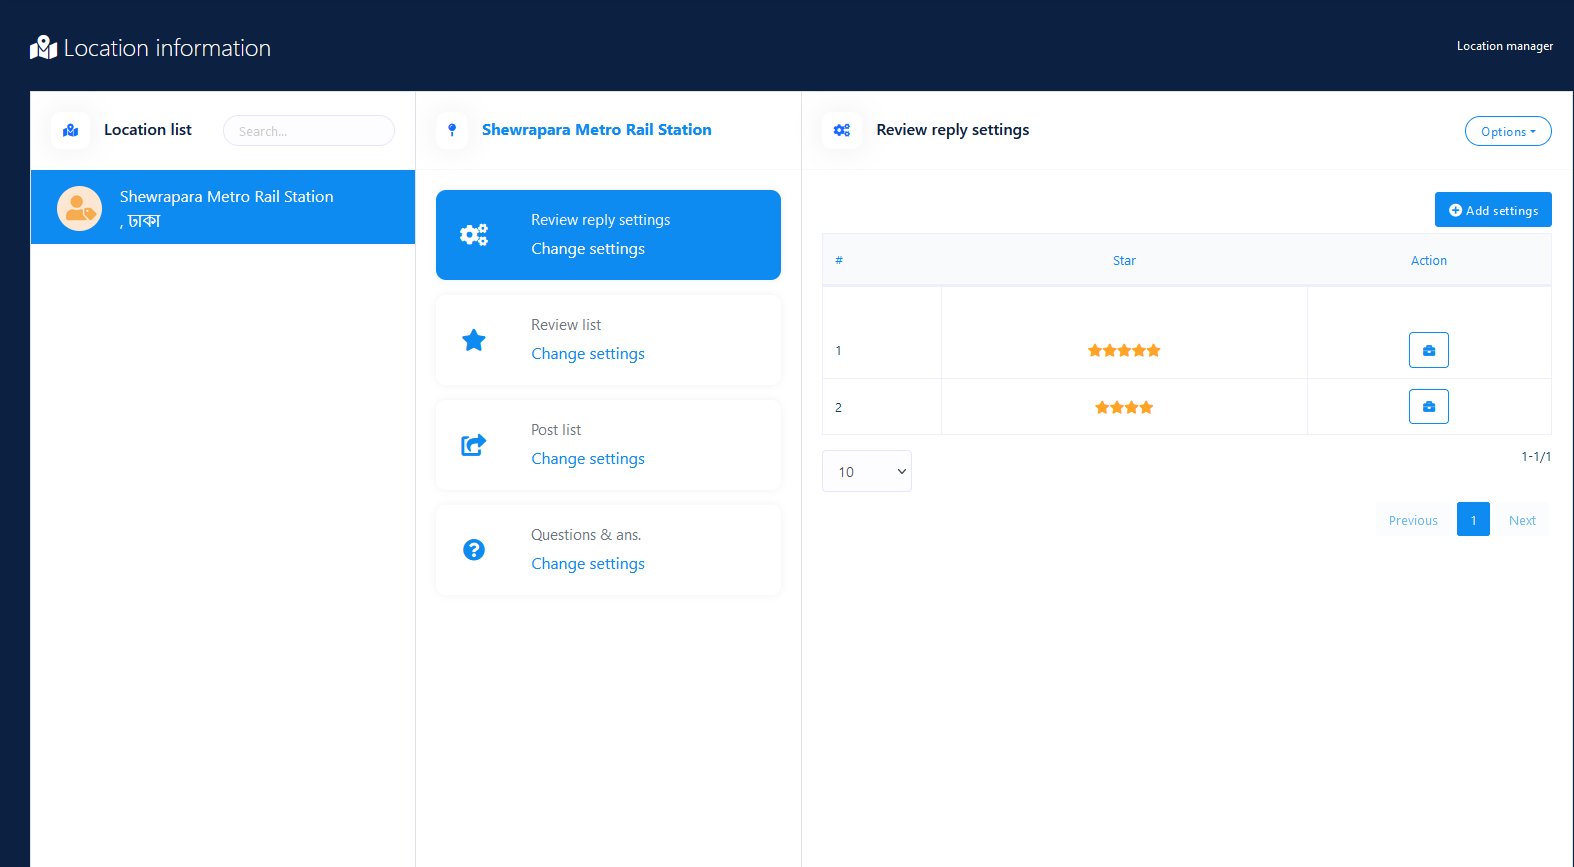
In this section,you can manage your multiple business location.There are some list that you can manage easily using location manager.
- Review reply settings
- Review list
- Post list
- Questions & Ans
Location insights
Location and Post Insights
- Each location provides insights for multiple metrics
- Each post provides insight for different locations


Review reply settings
Automatic Review Reply
- Gives a way to reply to a review automatically.
- Custom star based automatic replies to reviews.
- Automatic replies to reviews are editable.
- Unlimited keyword based automatic replies.
- Generic replies to reviews.
- Default review reply for no keyword match
- Star based review report is available
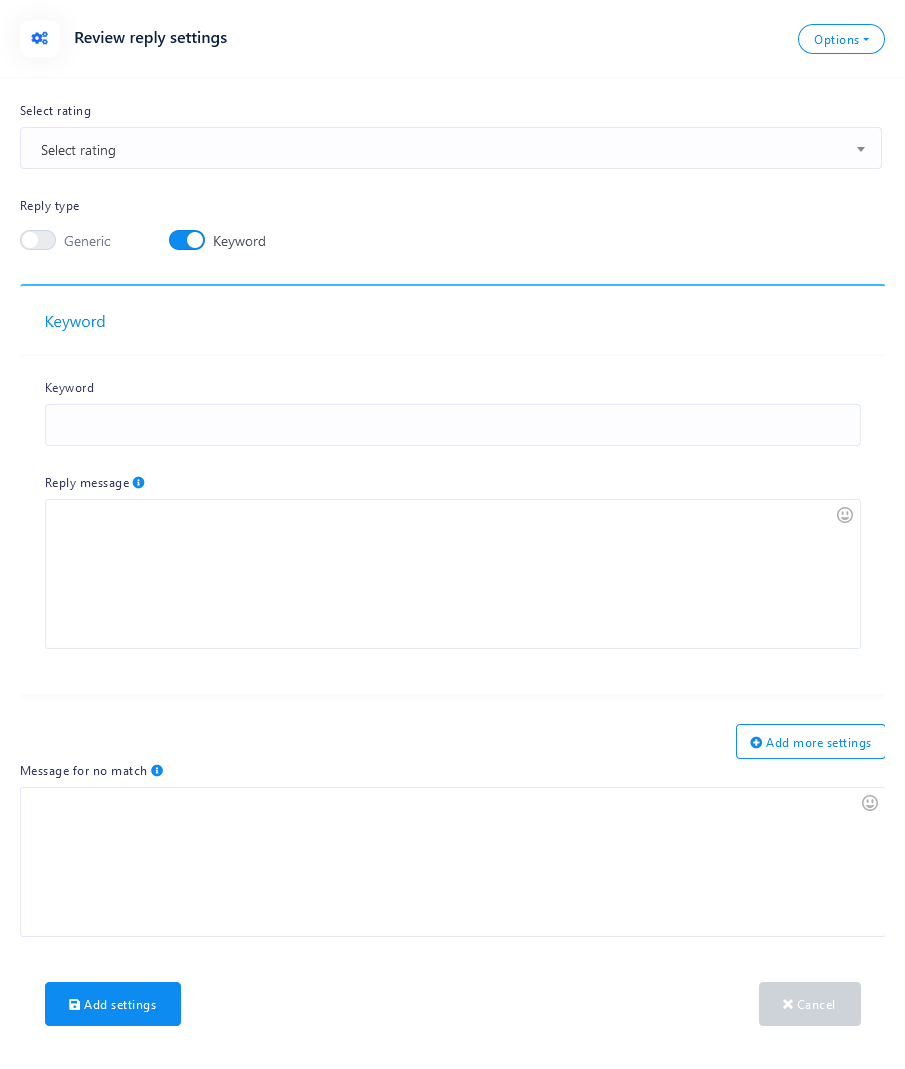
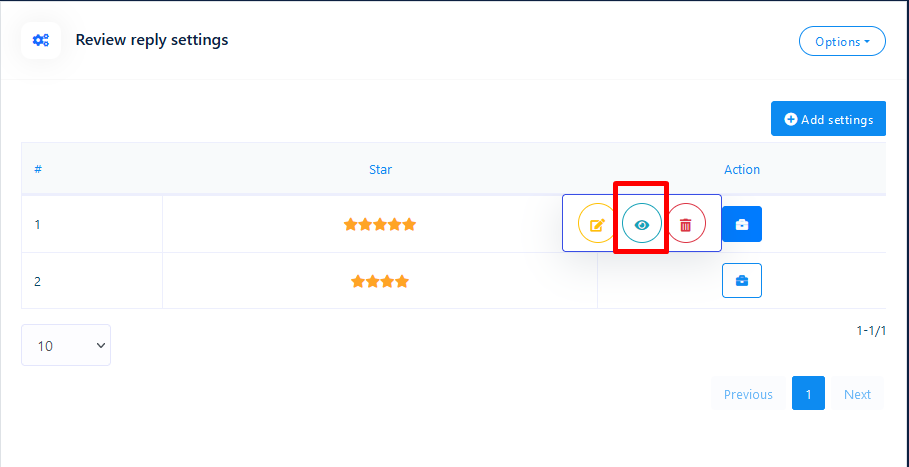
In this section, you can set a predefined review reply template for those who give review in you google my business. If you want to reply them to automatically then set a review reply predefined template. You can also set template star rating categorized like 5 stars and so on, that is really cool feature, isn't it? Please follow the instructions below if you want to review reply automatically.
Two Type of reply template available
- Generic
- Keyword

Select rating and enter review reply text, after then hit add settings button
Review List
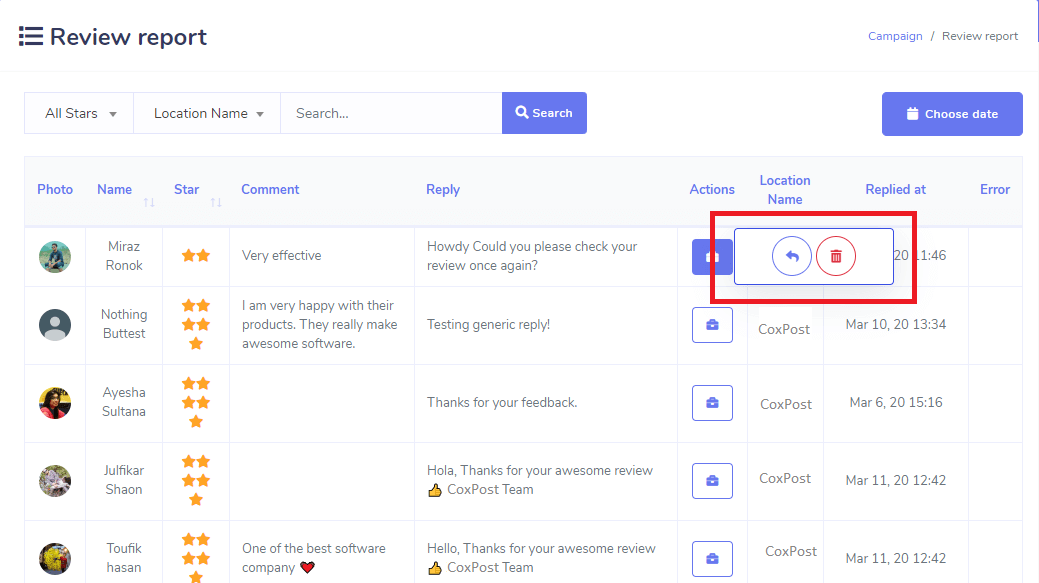
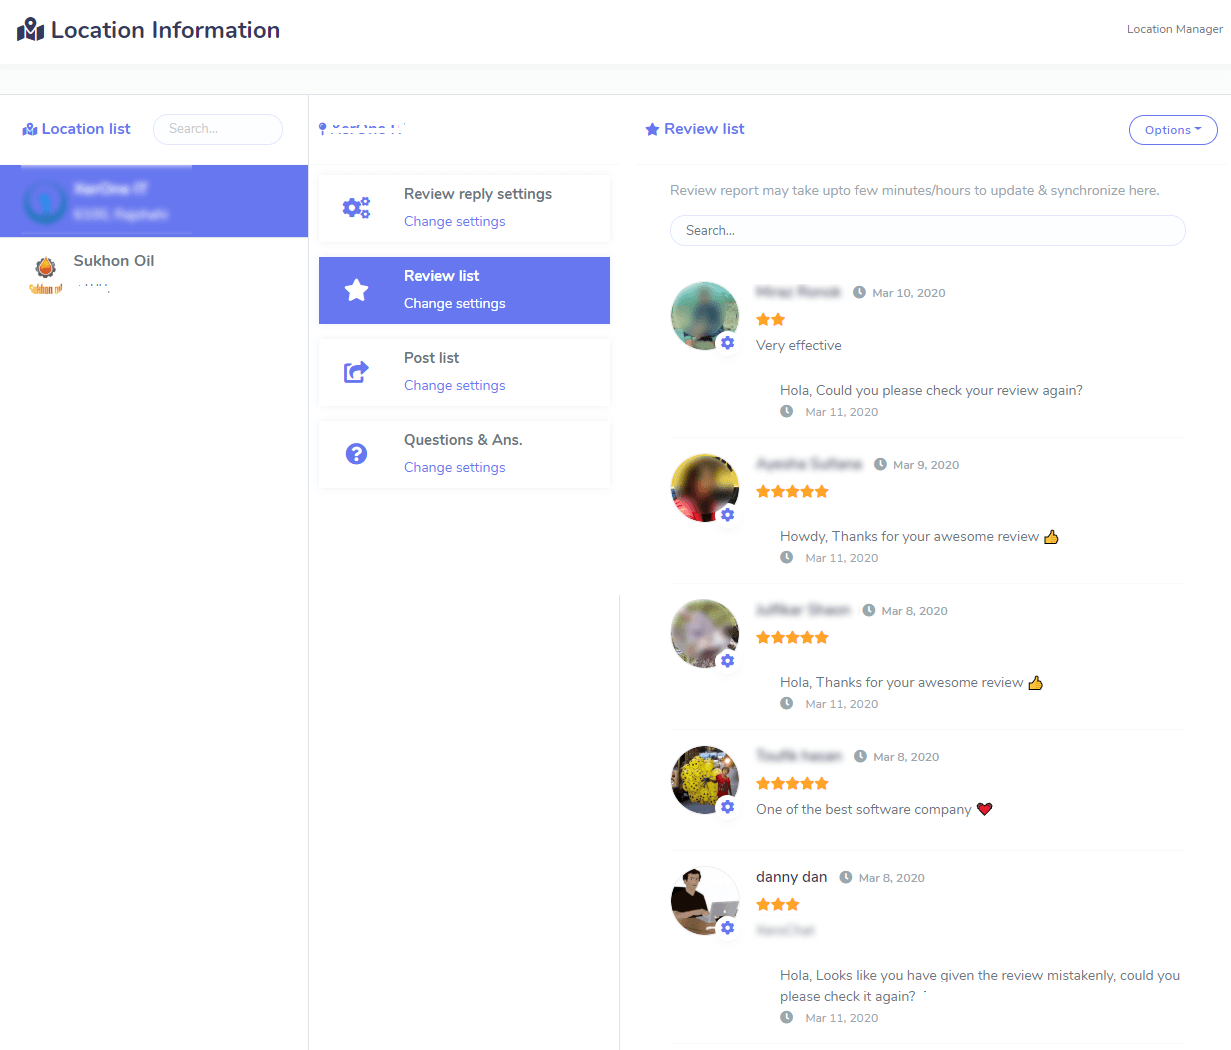
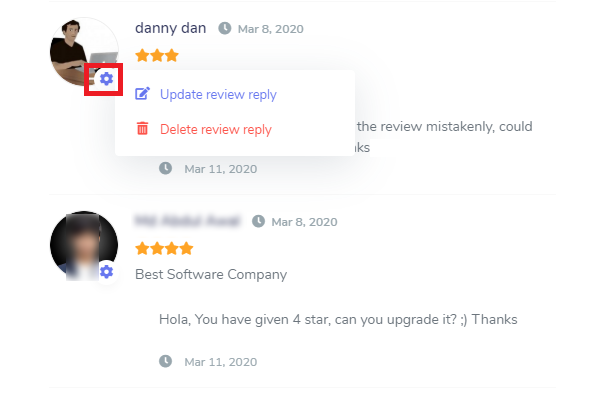
In this section you will see all the review list. You can edit review reply and delete it from here.
Info
Review list may take upto few minutes/hours to update & synchronize in review list.
Post List
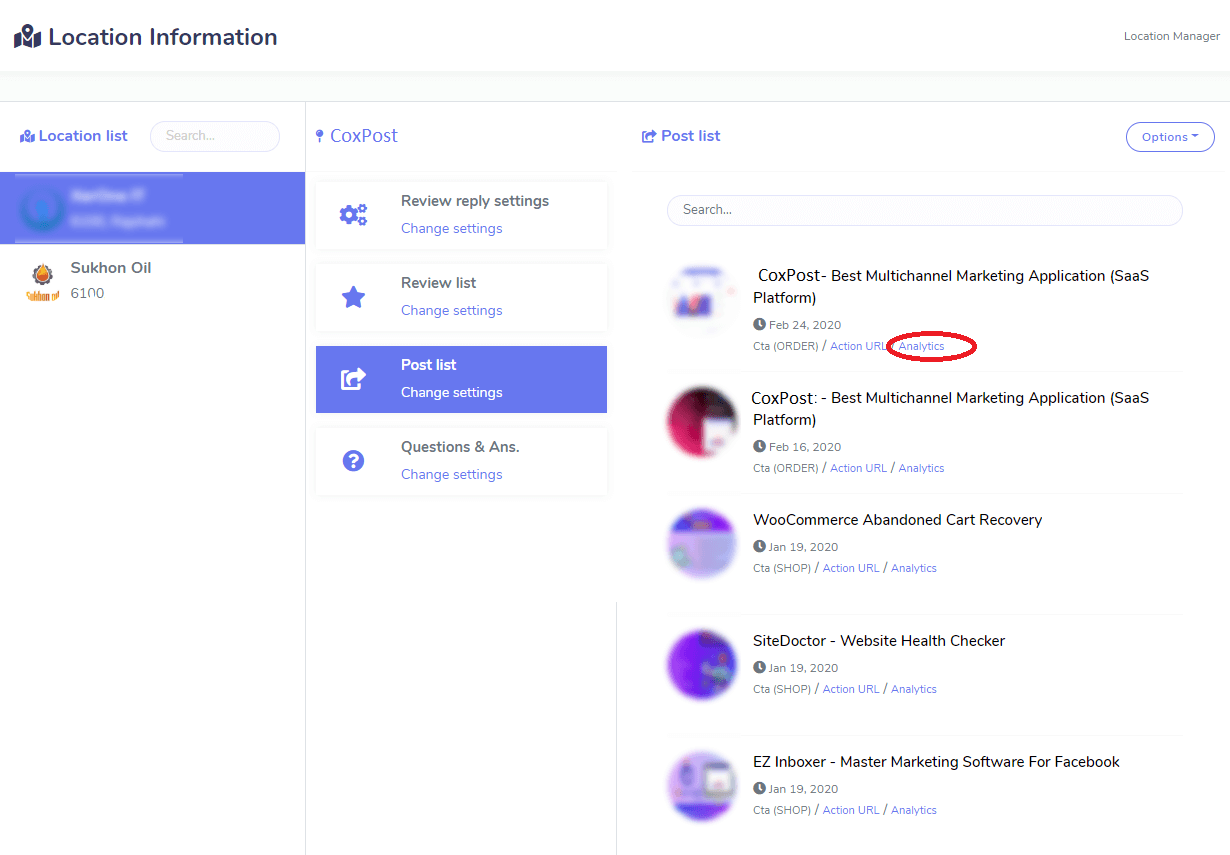
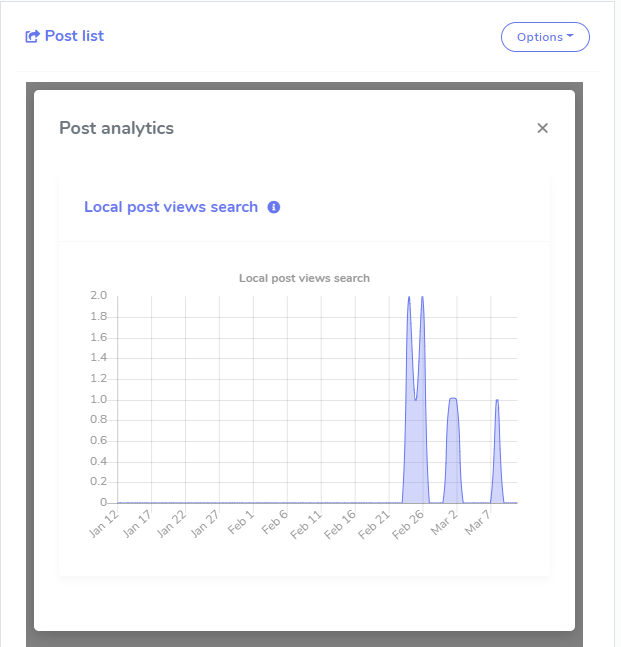
In this section you will see all the post that you made through campaigns, even you can see post analytics.
Questions & Ans
Question and Answer
- No need other platforms for giving an answer to a customer’s question
- You can interact with your customers via questions & answers
- You can write answers for any questions from a single interface
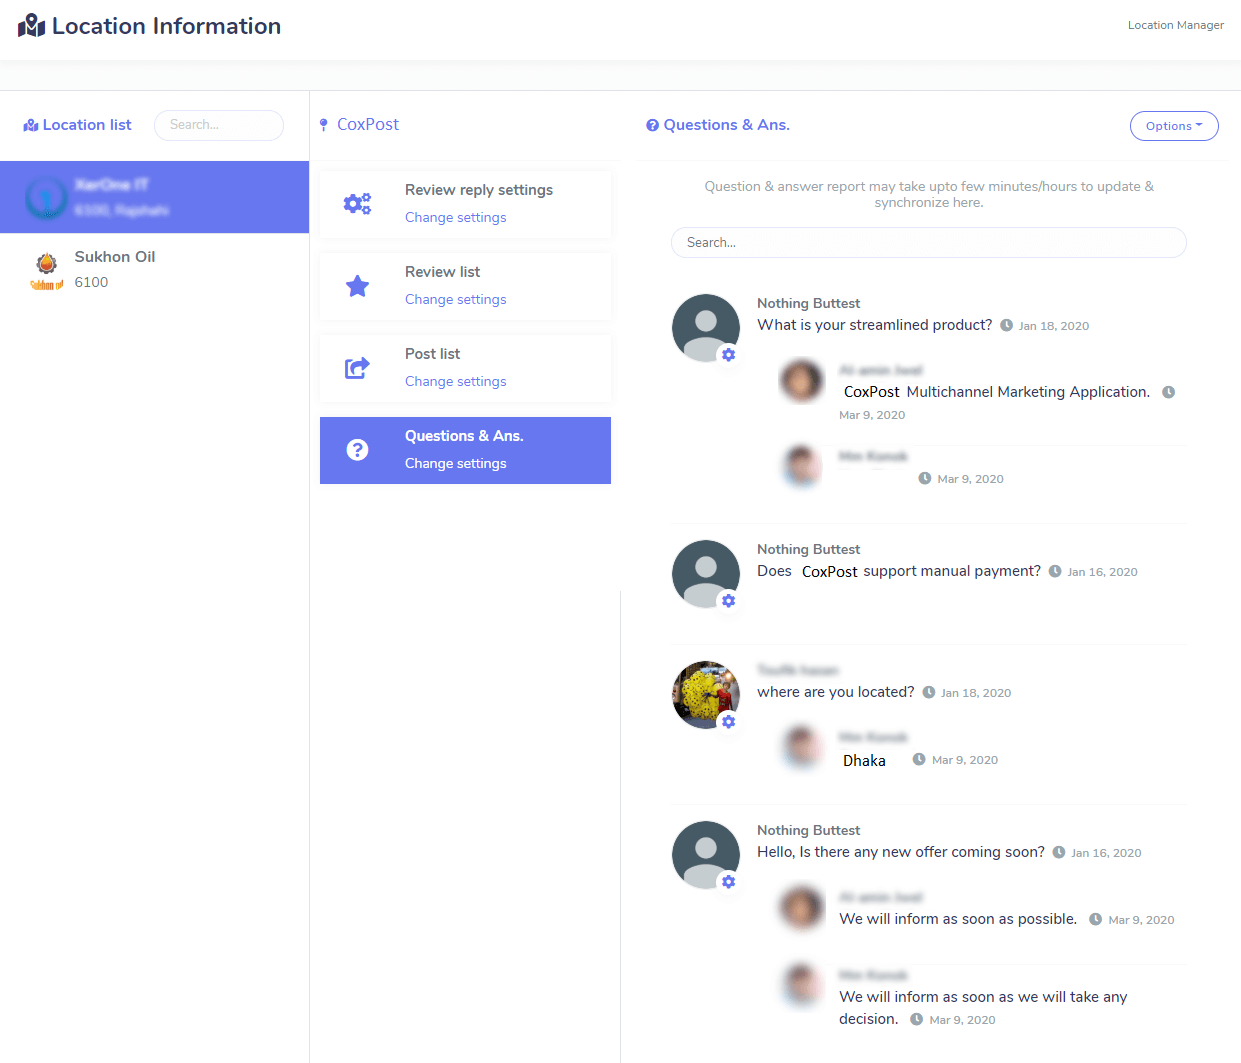
In this section you will see full list of Questions & Ans of your business that people already made.
Info
Question & answer report may take upto few minutes/hours to update & synchronize here.
Campaigns
- A single interface for creating posts
- You’re able to create several types of posts
- You’re able to schedule posts to be posted later
- You’re able to write a single post to different locations
- All posts will be automatically posted onto google
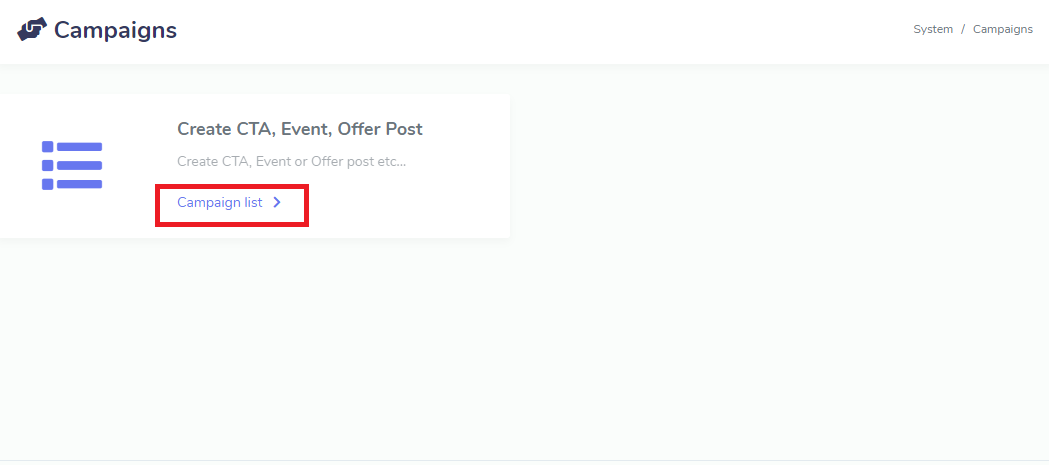
In this Section, we will guide you on campaigns Feature. Here you will find all the instruction on Campaigns management. So Let's start.
- CTA
- Event
- Offer
Call To Action Post
Campaigning Call-To-Action Posts
- You’re able to write several types of CTA posts
- You can make your customers a phone call to you
- You can get your customers to your products from google search page
- You can make your customers to buy your products from google search
In this section you will see how you can create a campaigns.
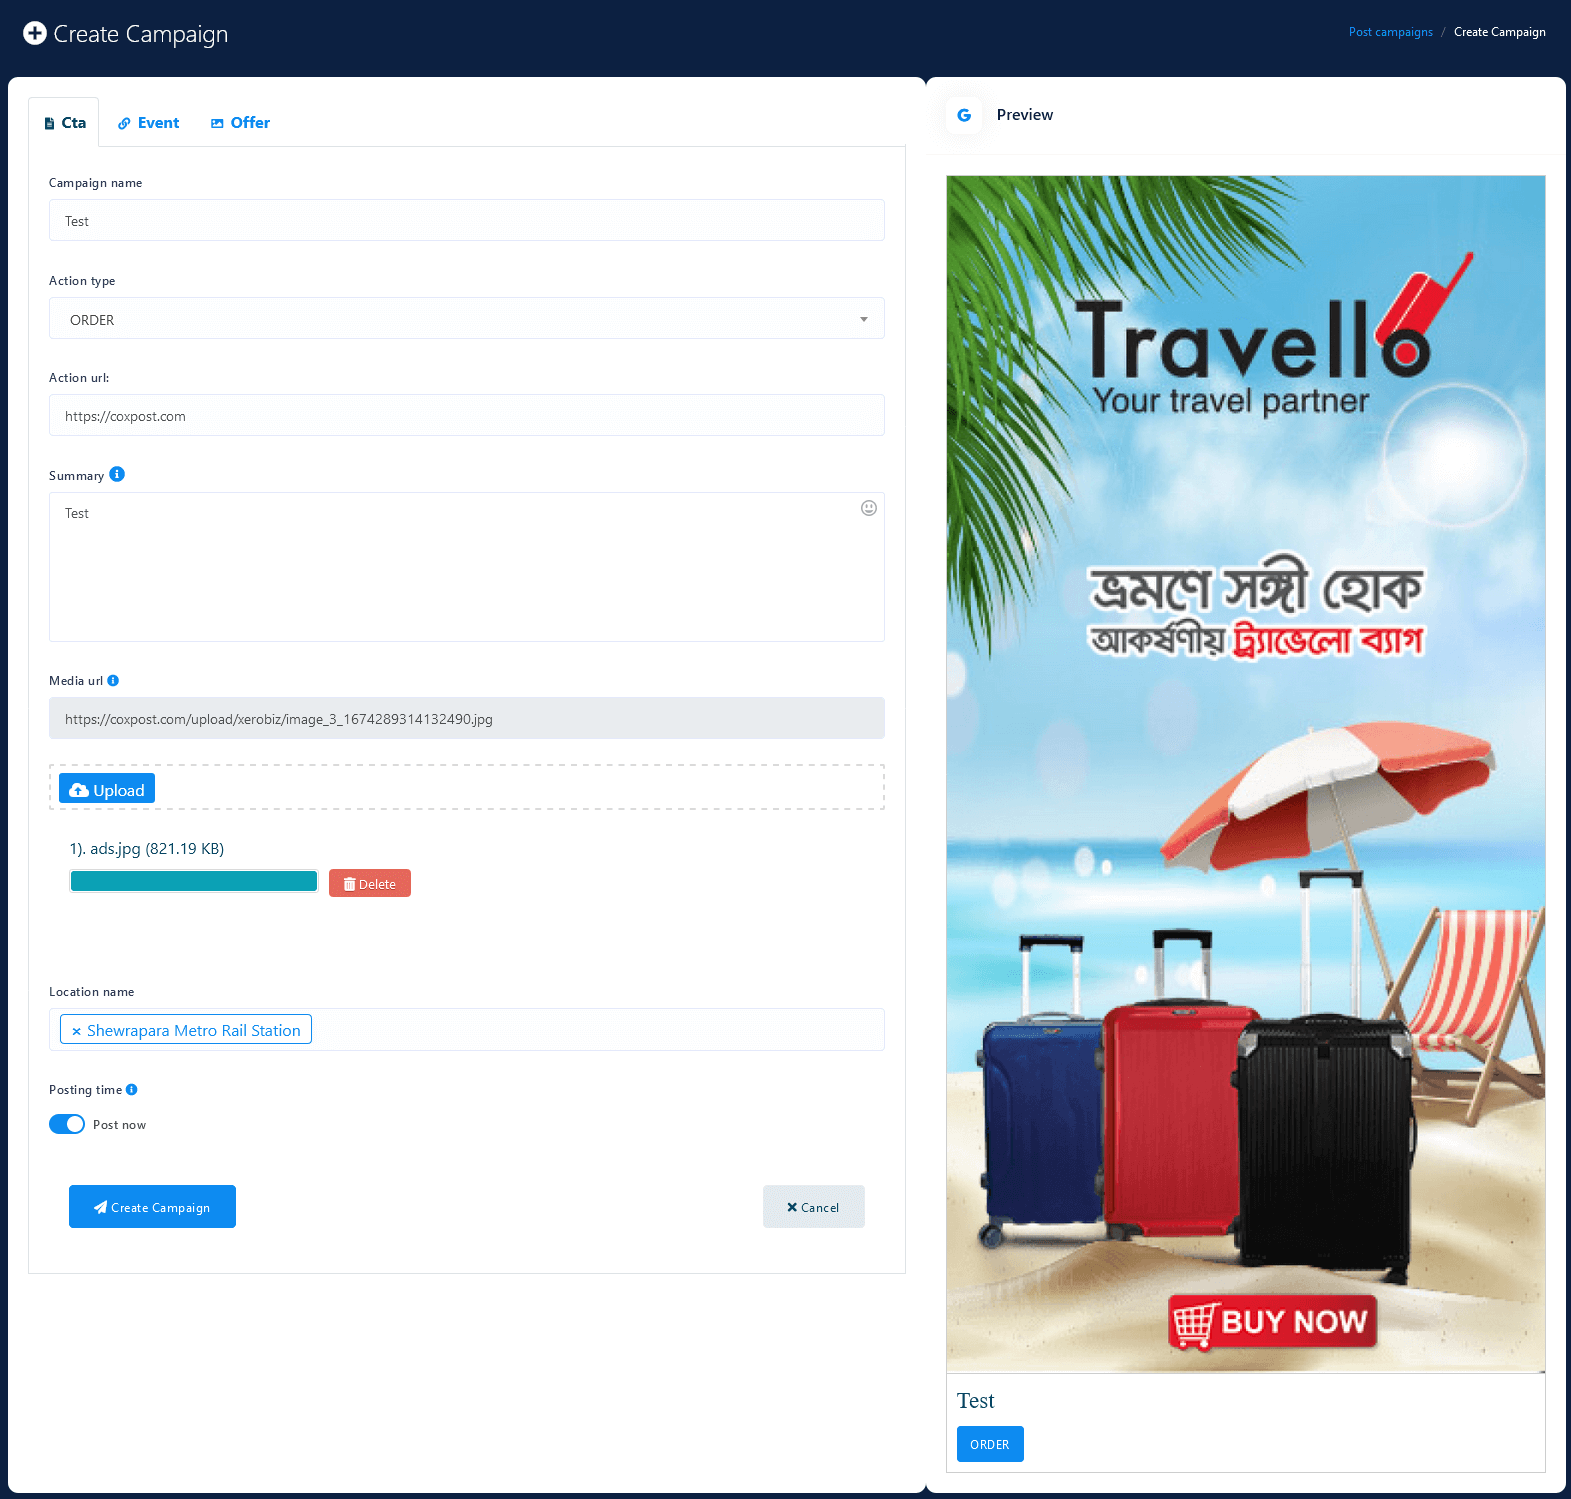
Click Create new post,Put campaign name, select action type, put action url, put cta summary , upload an image and select location name (multiple select available), You can schedule the campaign now or later. If you choose to schedule later then you have to enter schedule time and timezone then hit create campaign button.

Event Post
Campaigning Event Posts
- You’re able to write a post that can represent an event
Click Create new post,click event tab, Put campaign name, put post title, put event date range, put event summary , upload an image and select location name (multiple select available), You can schedule the campaign now or later. If you choose to schedule later then you have to enter schedule time and timezone then hit create campaign button.

Offer Post
Campaigning Offer Posts
- You’re able to make a coupon code for a specific or all products
- You can get your customers to your products from google search page
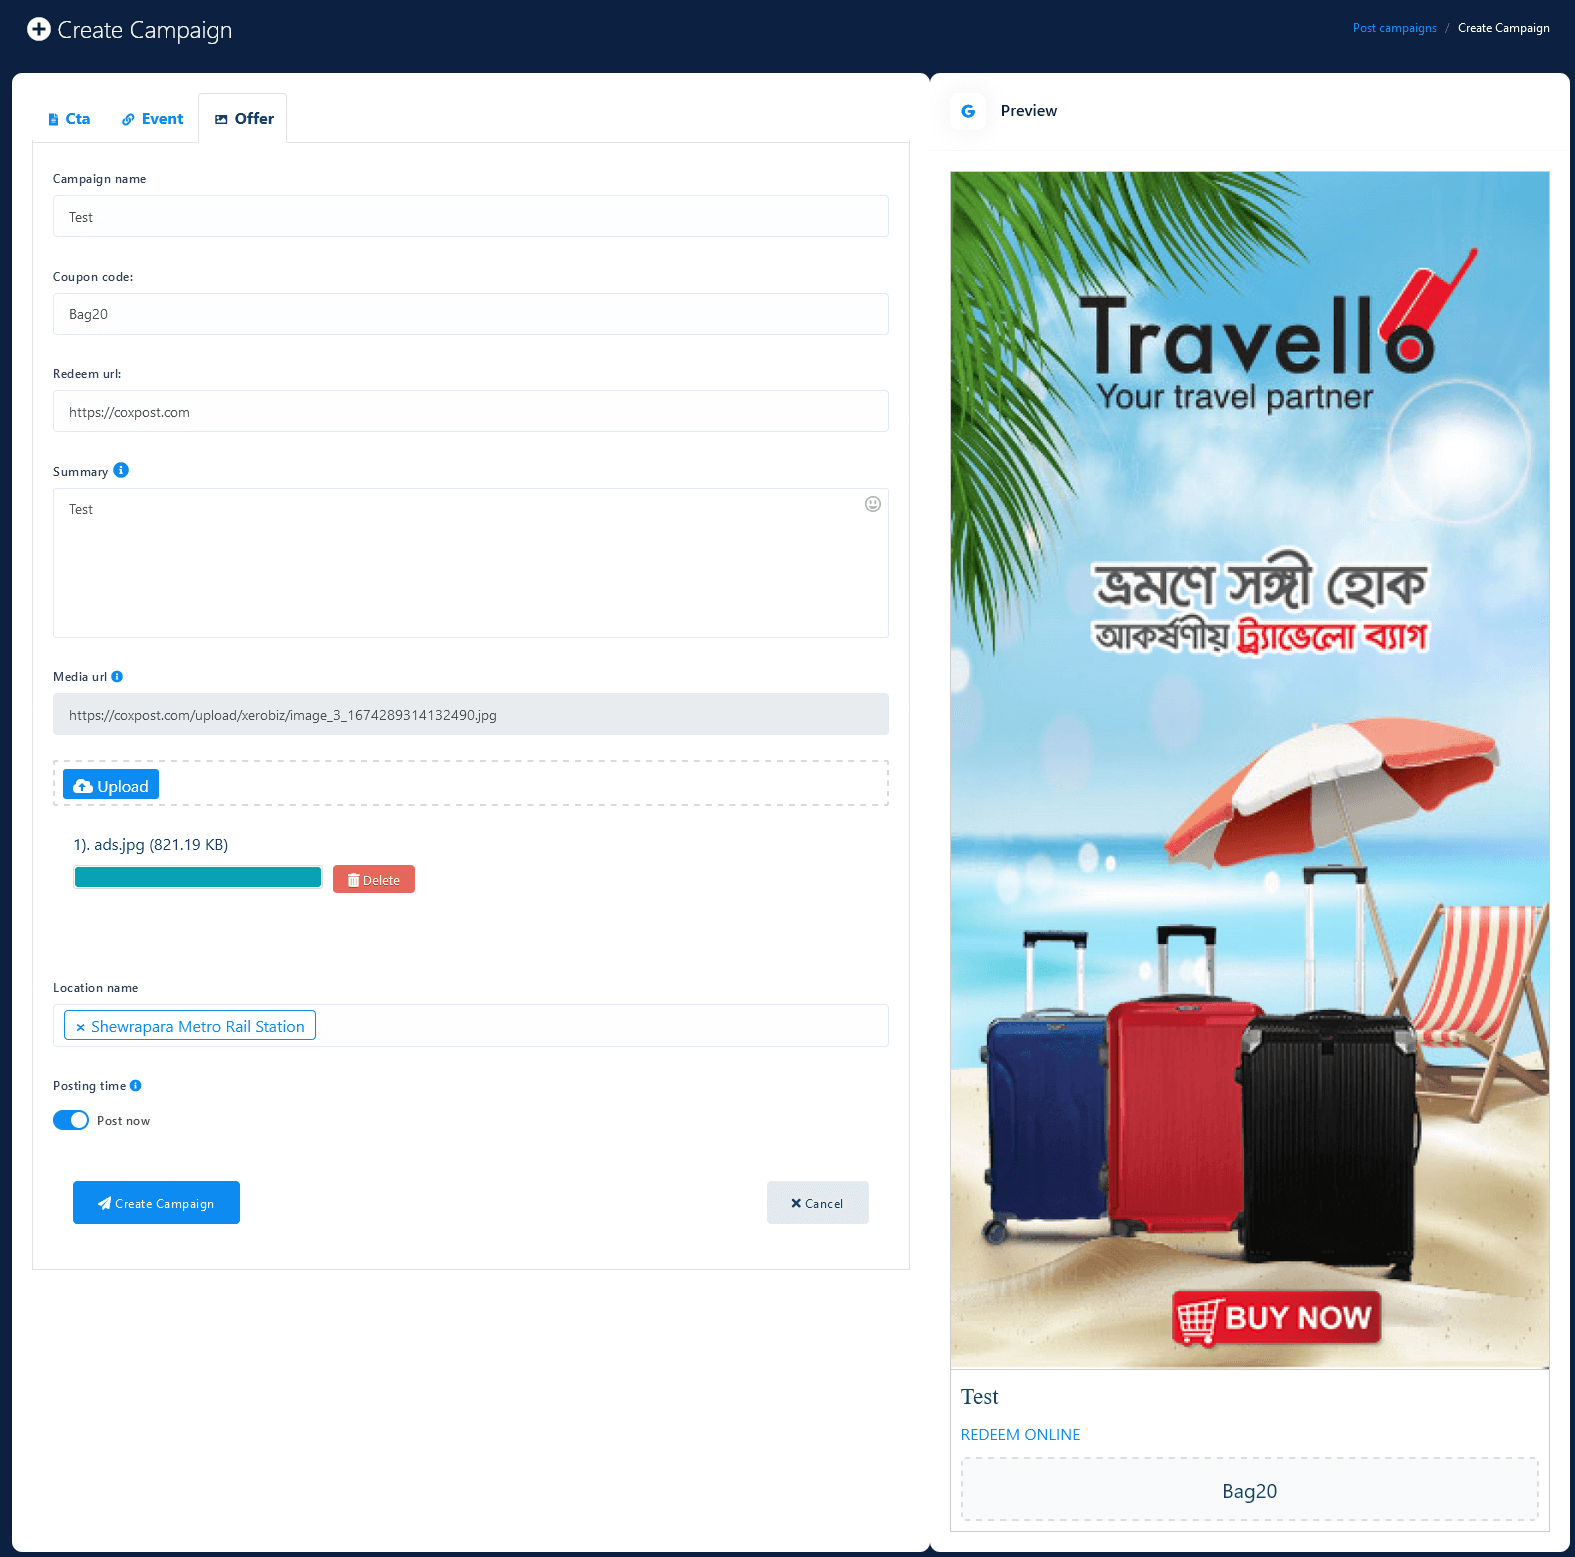
Click Create new post,click offer tab, Put campaign name, put coupon code, put redeem url, put offer summary , upload an image and select location name (multiple select available), You can schedule the campaign now or later. If you choose to schedule later then you have to enter schedule time and timezone then hit create campaign button.
Report
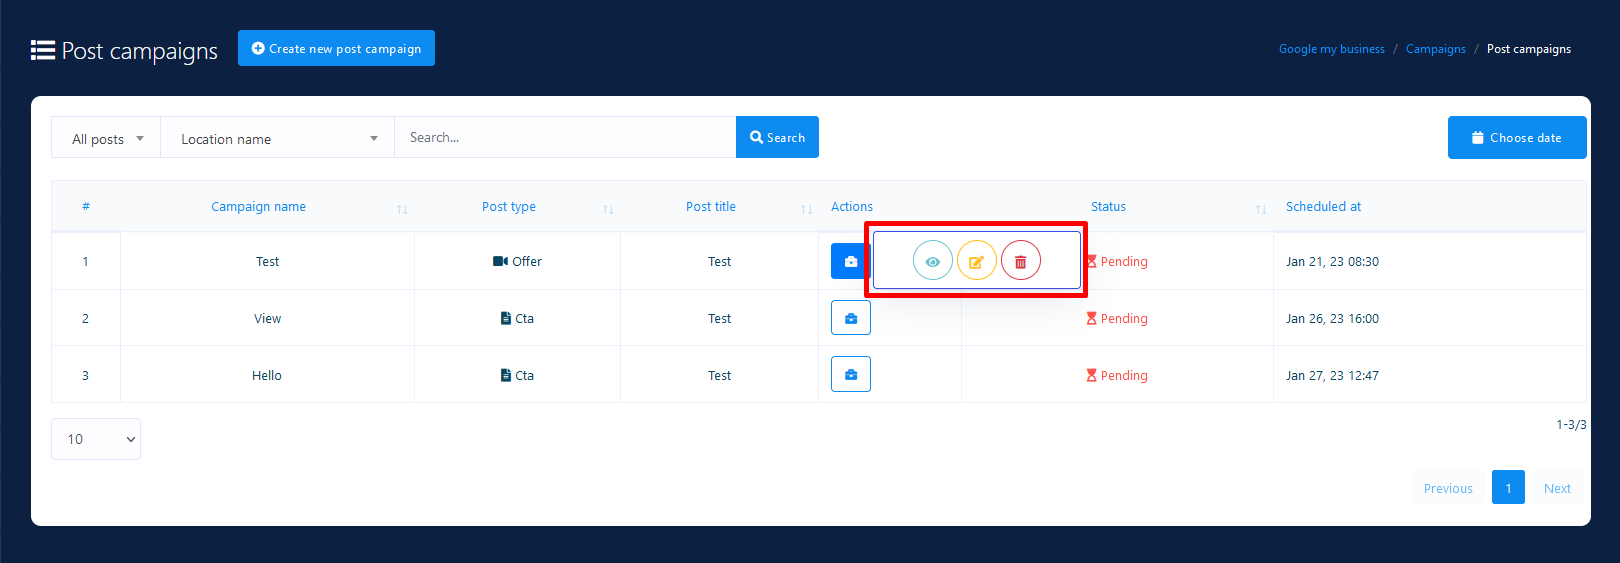
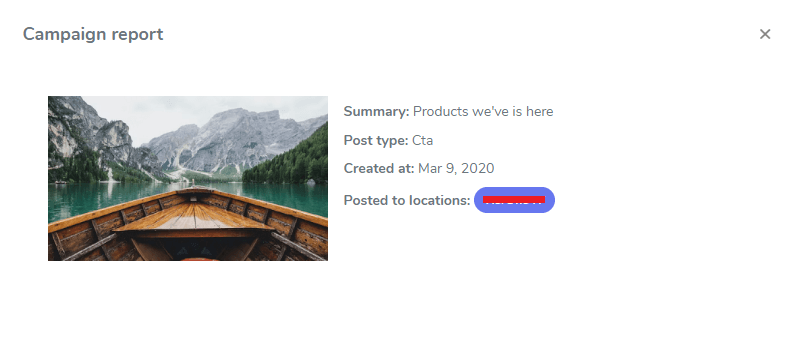
If you want to see campaign report click analytics button.
Media Manager
Media Manager is such a feature that allows you to represent each and every part of your business to your customers via PHOTO and VIDEO posts.
- A single interface for creating photo or video posts
- You’re able to create as many posts as you want
- You’re able to schedule posts to be posted later
- You’re able to write a single post to different locations
- All posts will be automatically posted onto google
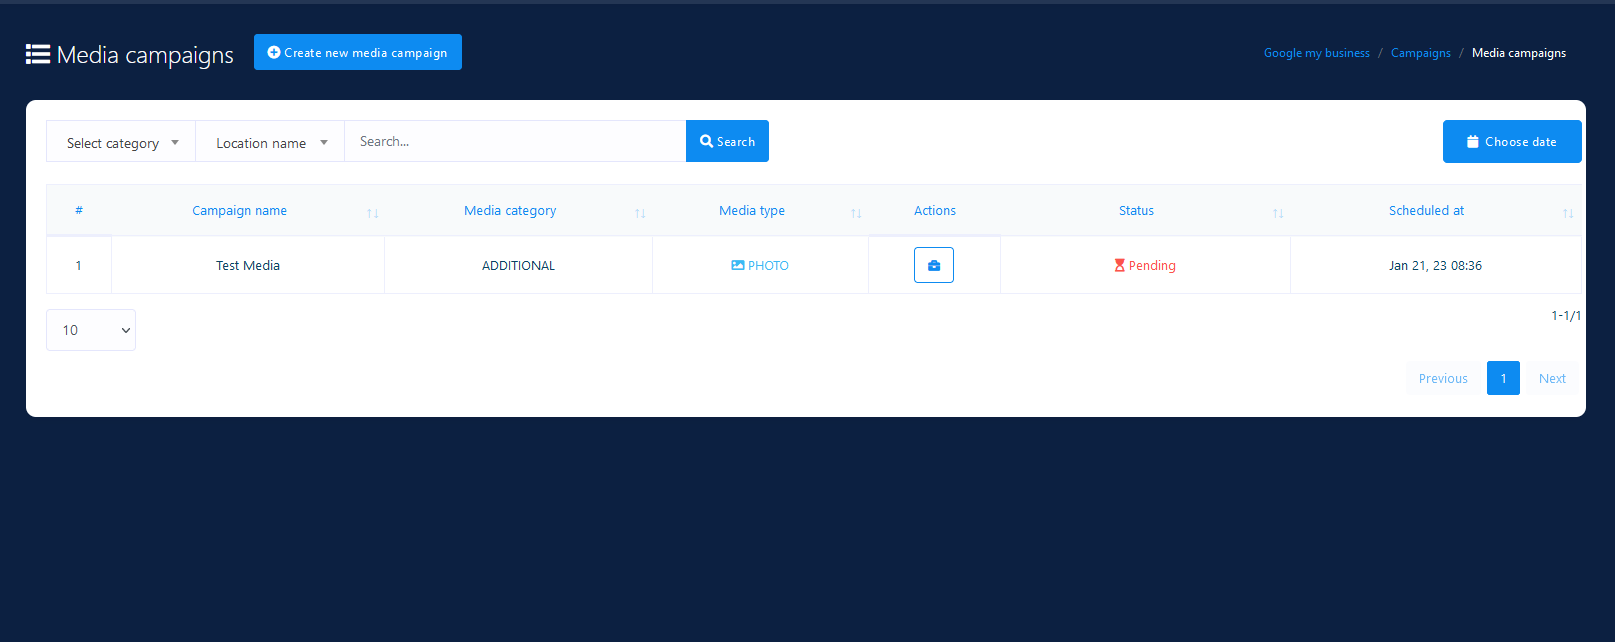
To go to the Media Manager interface, click on the Media Manager menu from the left-side menu bar as follows:
Photo or Video Campaign
Creating photo campaign or video campaign is almost same process. If you upload an image, then it will be an image campaign and vice versa. First of all, though it's depends on your business type, let's see how you can represent each and every part of your business using photo or video campaigns.
- You're able to set a LOGO/PROFILE/COVER photo of your business institution or place.
- You're able to represent INTERIOR/EXTERIOR part of your business to your customers
- You're able to represent PRODUCTs that your business offers to your customers
- You're able to show off how your employees are active at work to the world
- If you sell consuming products such as food or drink, you can then represent them using videos or images
- If you have a restaurant, you can then represent MENU items to your customers
- Otherwise, if you have a HOTEL or MOTEL, you can then represent ROOMs to your customers
- If you have a business where team-work is very much important, you can then represent TEAMs to your customers
- If you have a business where common-area is important to represent, you can then do that too
- You're also able to represent ADDITIONAL information or whatever, using images and videos
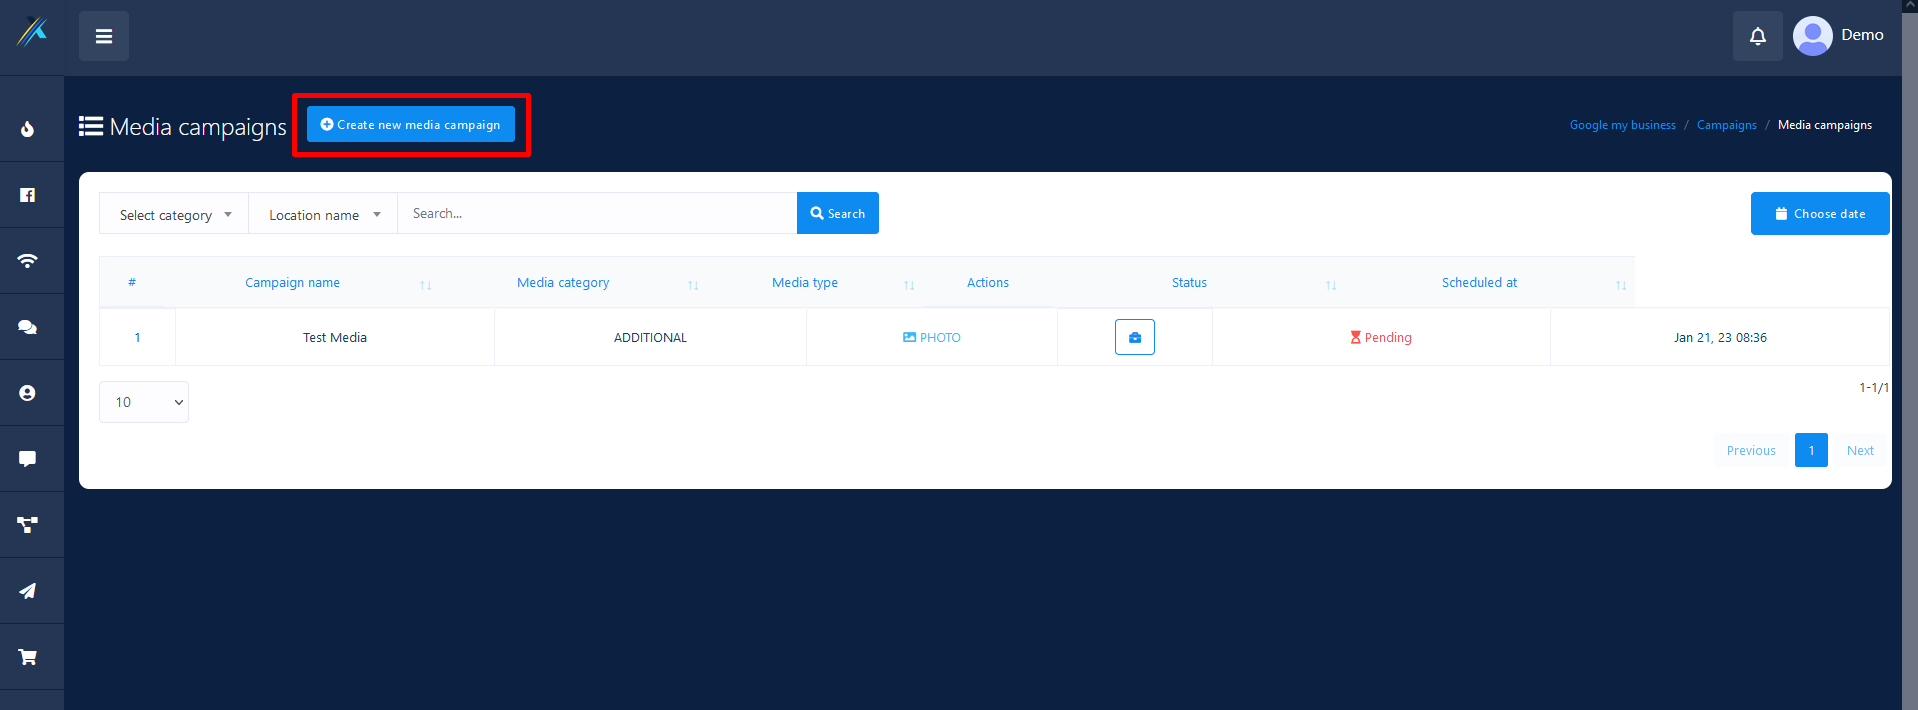
To create PHOTO or VIDEO campaign, please click on the button named Create new media campaign as follows:
Next up, you need to fill in some fields with proper values. See the following screenshot:
Be careful of the following error! Upload image or video that is quite related to your business. Otherwise, the campaign will not be published onto GMB.
Stay away from Request contains an invalid argument error.
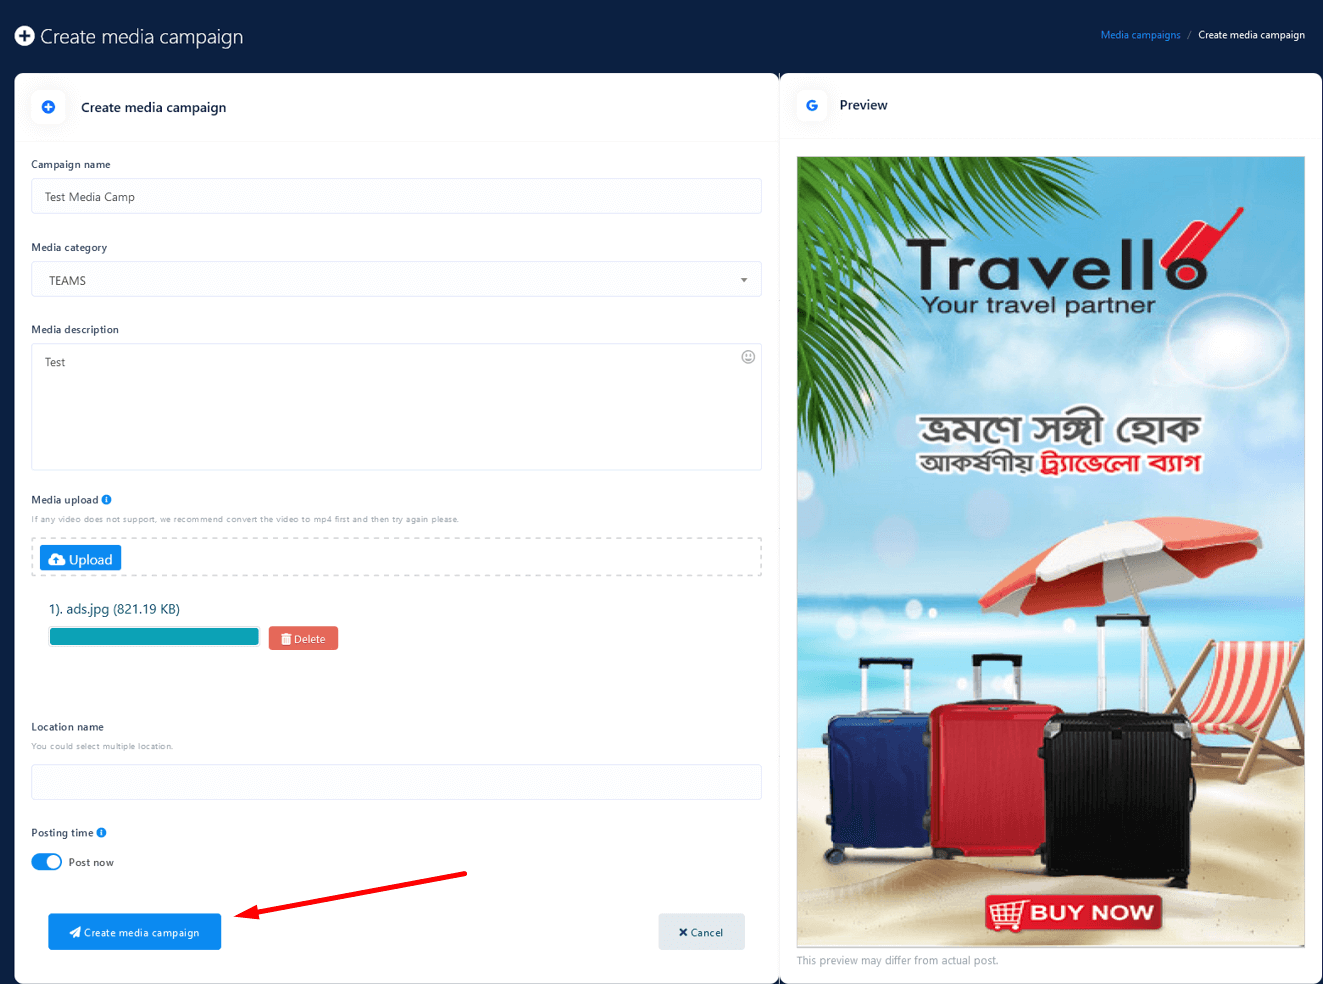
Once you've completed all the fields, then click on the button below named Create Media Campaign to create a campaign.
At the moment, you will be redirected to the Media Manager interface. You will see there the campaign you created earlier as below:

Notice the red-marked arrow in the following screenshot. This tells you that the campaign is in pending status and has not yet been posted to GMB.

The Pending status will be changed to Completed when the campaign has been posted to GMB. Look at the following screenshot:

Now it's time to spend some time on a specific campaign. So what are the options available on a specific campaign? Look at the following screenshot:

First, we will see how a campaign looks when it has been posted successfully to GMB. There is button called Campaign report there. Click on the button. It will pop up a modal. It looks like the screenshot below:
Image Campaign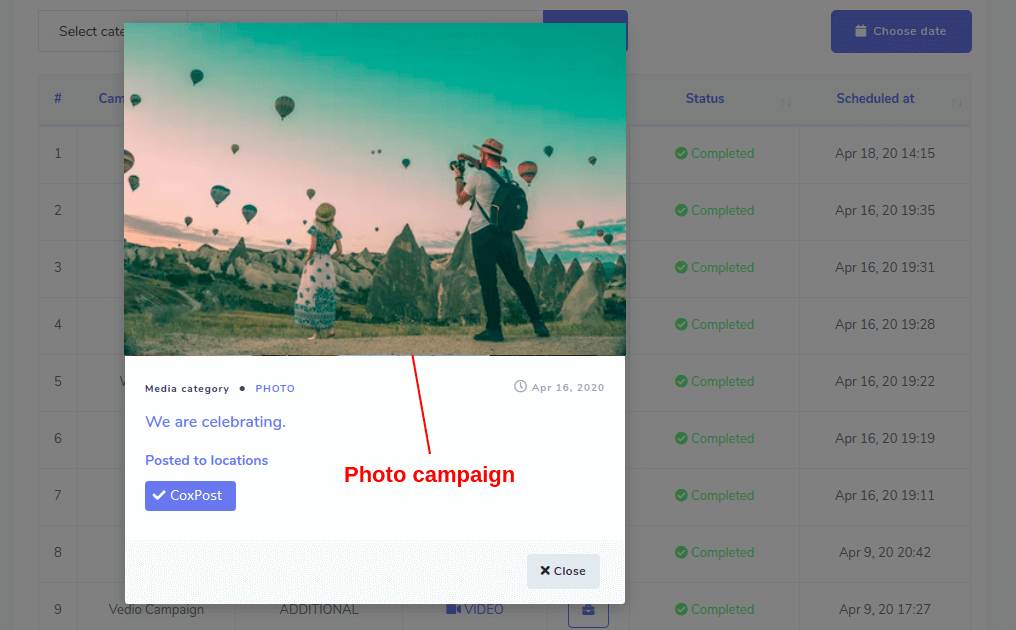
Video Campaign
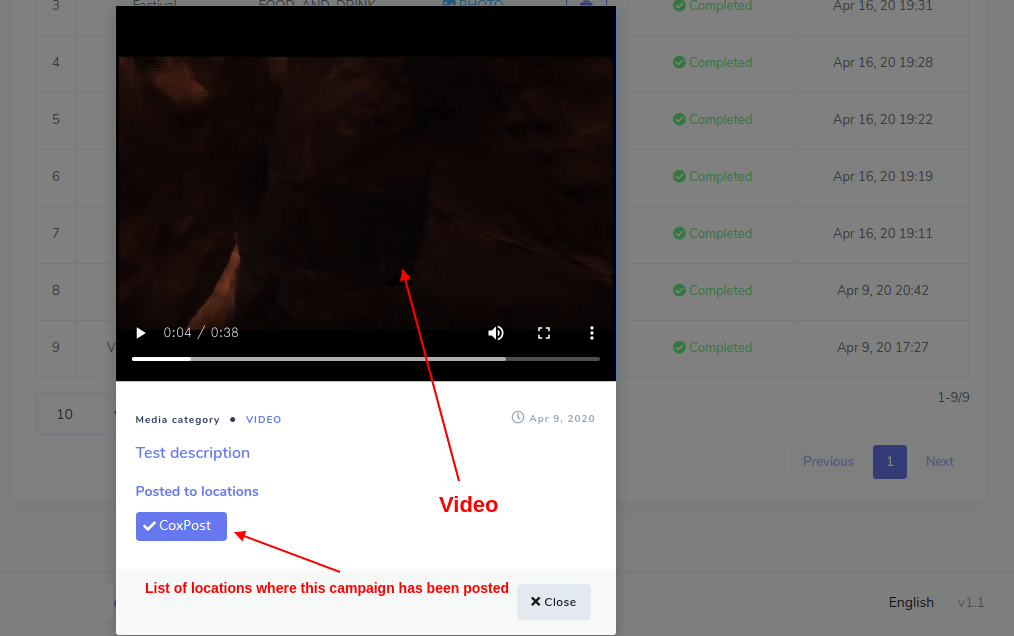
If you want to see the posted campaign on GMB, then click on the button. It will take you there.
You will see some campaigns' status Completed on XeroBizz system but red-marked on campaign report modal. This happens when GMB system detects that the PHOTO or VIDEO you posted is not relevant to your business. Look at the following screenshot:
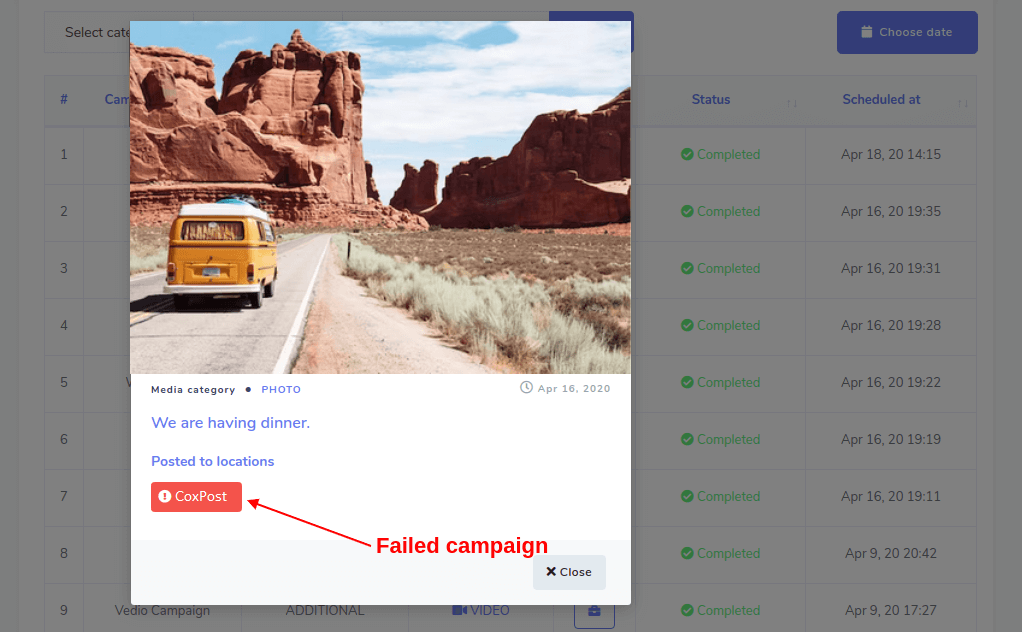
Failed Campaign
You will see some campaigns' status Completed on XeroBizz system but badges with red mark below the Posted to locations on campaign report modal. This happens when GMB system detects that the PHOTO or VIDEO you posted is not relevant to your business. Look at the following screenshot:

Review Replies
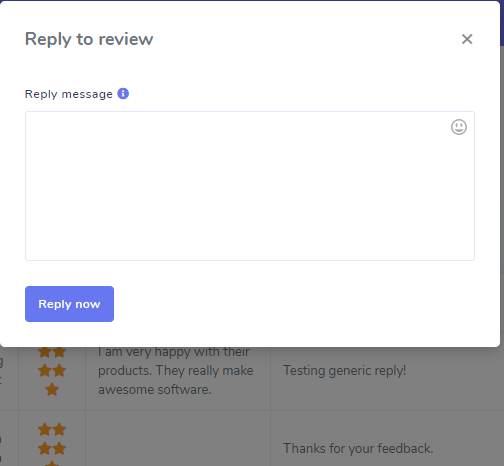
In this section you will see all review replies here
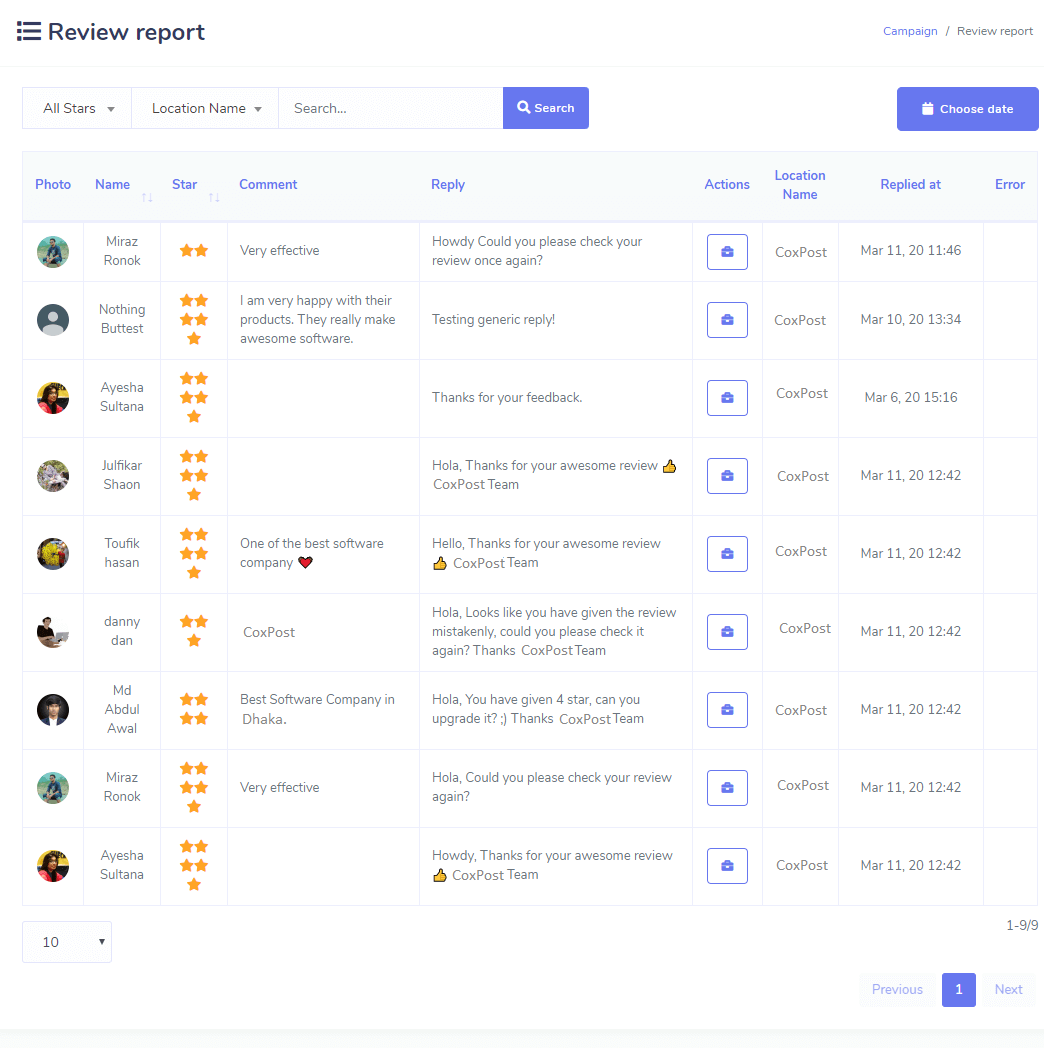
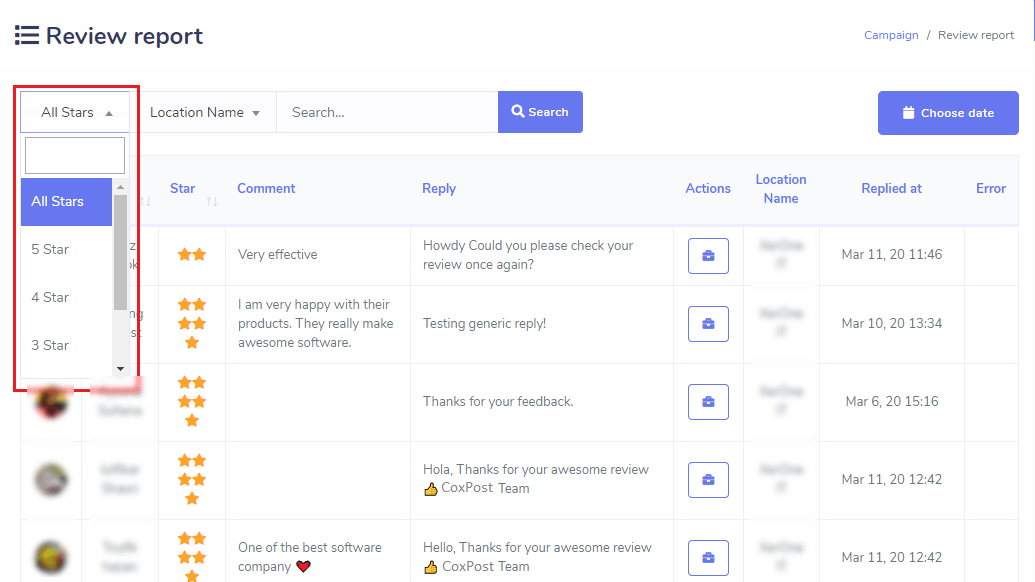
You can review reply Manually, click red marked reply button
